I Tried Solidcore

This is something I never thought I would say.  I tried a pilates inspired workout for the first time, and I kind of liked it. 

I am a millennial, and that means I grew up in the 2000s when it was trendy to be as skinny as possible, and women were told not to lift a single weight or to use light weights for high reps so they don’t get bulky.  Then we entered the 2010s when suddenly it became okay for women to build muscle, specifically their glutes.  I learned a lot thanks to that era, and I still enjoy strength training.  We entered a time where the focus was taken away from bodyweight workouts and low weights with high reps to lifting to build muscle and be strong, but then, we entered the 2020s.  In the past couple years I have seen the trends move away from lifting and to running and pilates, kind of like back in the 2000s, and the body shape trends have moved in the same direction.  It can be very confusing to be a woman when the standards change constantly, and I have finally reached a point where I do not care what the standard is.  I just want to enjoy training. 

Like I talked about in my post about getting out of my rut, I have been in a cycle of not training and then training for a little while, and it is not enjoyable.  I don’t have races on the horizon, but I have used the new trainer, and for a similar reason, I thought trying something new might help my motivation and energy levels, so when one of my coworkers said she teaches a beginner class on Tuesday nights, I decided to sign up. 

I had no idea what to expect, so I had to do some searching on Solidcore to figure out what it was in the first place.  I came to the conclusion that it is a pilates inspired workout using their custom reformer type machine.  I do not know much about pilates other than it being trendy at the moment.  What I remember of the MTV pilates video my sister had in the 2000s was that it was bodyweight, and what I know from social media is a lot of pulsing and smaller movements. 

I signed up for their intro class, and it is recommended you do the intro and foundations classes a few times before moving up to their full classes.  I wore my leggings and mismatched tank top, and I definitely felt a little out of place compared to the girls in their matching sets, but I wore what I am comfortable in.  The workout can be done barefoot or with grippy socks, and I don’t have grippy socks, so I went barefoot.  The room has 16 places, and we only had five people in the class, and there is no front or back of the room, so I just picked a spot in the middle. 

In the intro class, we get demonstrations and breaks, but in the regular classes there are not either, so that is why they want you to start with the intro.  I followed along with the first few demos, but as I will mention later, after the first few I felt like I needed the break, so I sat and watched and drank my water. 

The class itself was not what I expected.  Maybe I confuse it with bar, or I have seen one too many videos of a creator doing prayer pulses on Youtube, but I expected a lot of smaller range of motion type movements, but I was surprised that we did go through a full range of motion on things.  The class was broken up into four sections, center core, lower body  
(this was a glute focus day), obliques, and upper body (this was a back day).   

It is a lot of core, and probably more than most people need, but in general I liked the movements chosen.  The core focused a lot on core stability with planks, but it did have some different variations and movements within it, which broke up doing that much core.  I also liked that we started with the modified version and then the full plank was the option for making the workout more difficult.  I am an all or nothing person, so if you show me the full plank to start, I am going to do the full plank even though I should modify it, so I don’t overdo it. 

The leg workout is where I really noticed it was not going to be a bunch of pulsing.  There were some smaller movements, but we also did squats and lunges going through a full range.  I do think at some point you can max out the difficulty, since there are only so many springs on the reformer, but with the number of reps you’re doing, it will take a while to get there.  Again, there were modifications where you could take some of your body weight off in places, and by the end I needed them. 

The last part was the upper body, and I could have gone with heavier springs on the rows.  It was interesting the way you set up.  It is not a perfect heavy row, because they do still incorporate some core with the position you sit in, but I enjoyed the back portion the most.  Again, we were given weight options, and I went with the lightest one since it was new, but I could have gone a little heavier. 

Overall, I actually enjoyed it.  The lack of photos is because it is difficult to take photos around people, and my coworker was teaching.  The workout was a challenge for me, and I like trying new things.  I really liked group fitness classes before I got into triathlon, so I think going to some classes will get me out of my comfort zone a little, and it is good cross training.  There is a lot of stability and single side work, so I feel like it can also be beneficial for injury prevention.  I would not do Solidcore as my only form of strength training, but I will be adding it to my training in the near future, once I get back from some work travel. 

First Ride on the Kickr Core

I made myself get on the bike the same day I built the new Kickr Core. What would be the point of a new trainer if I did not ride it immediately? 

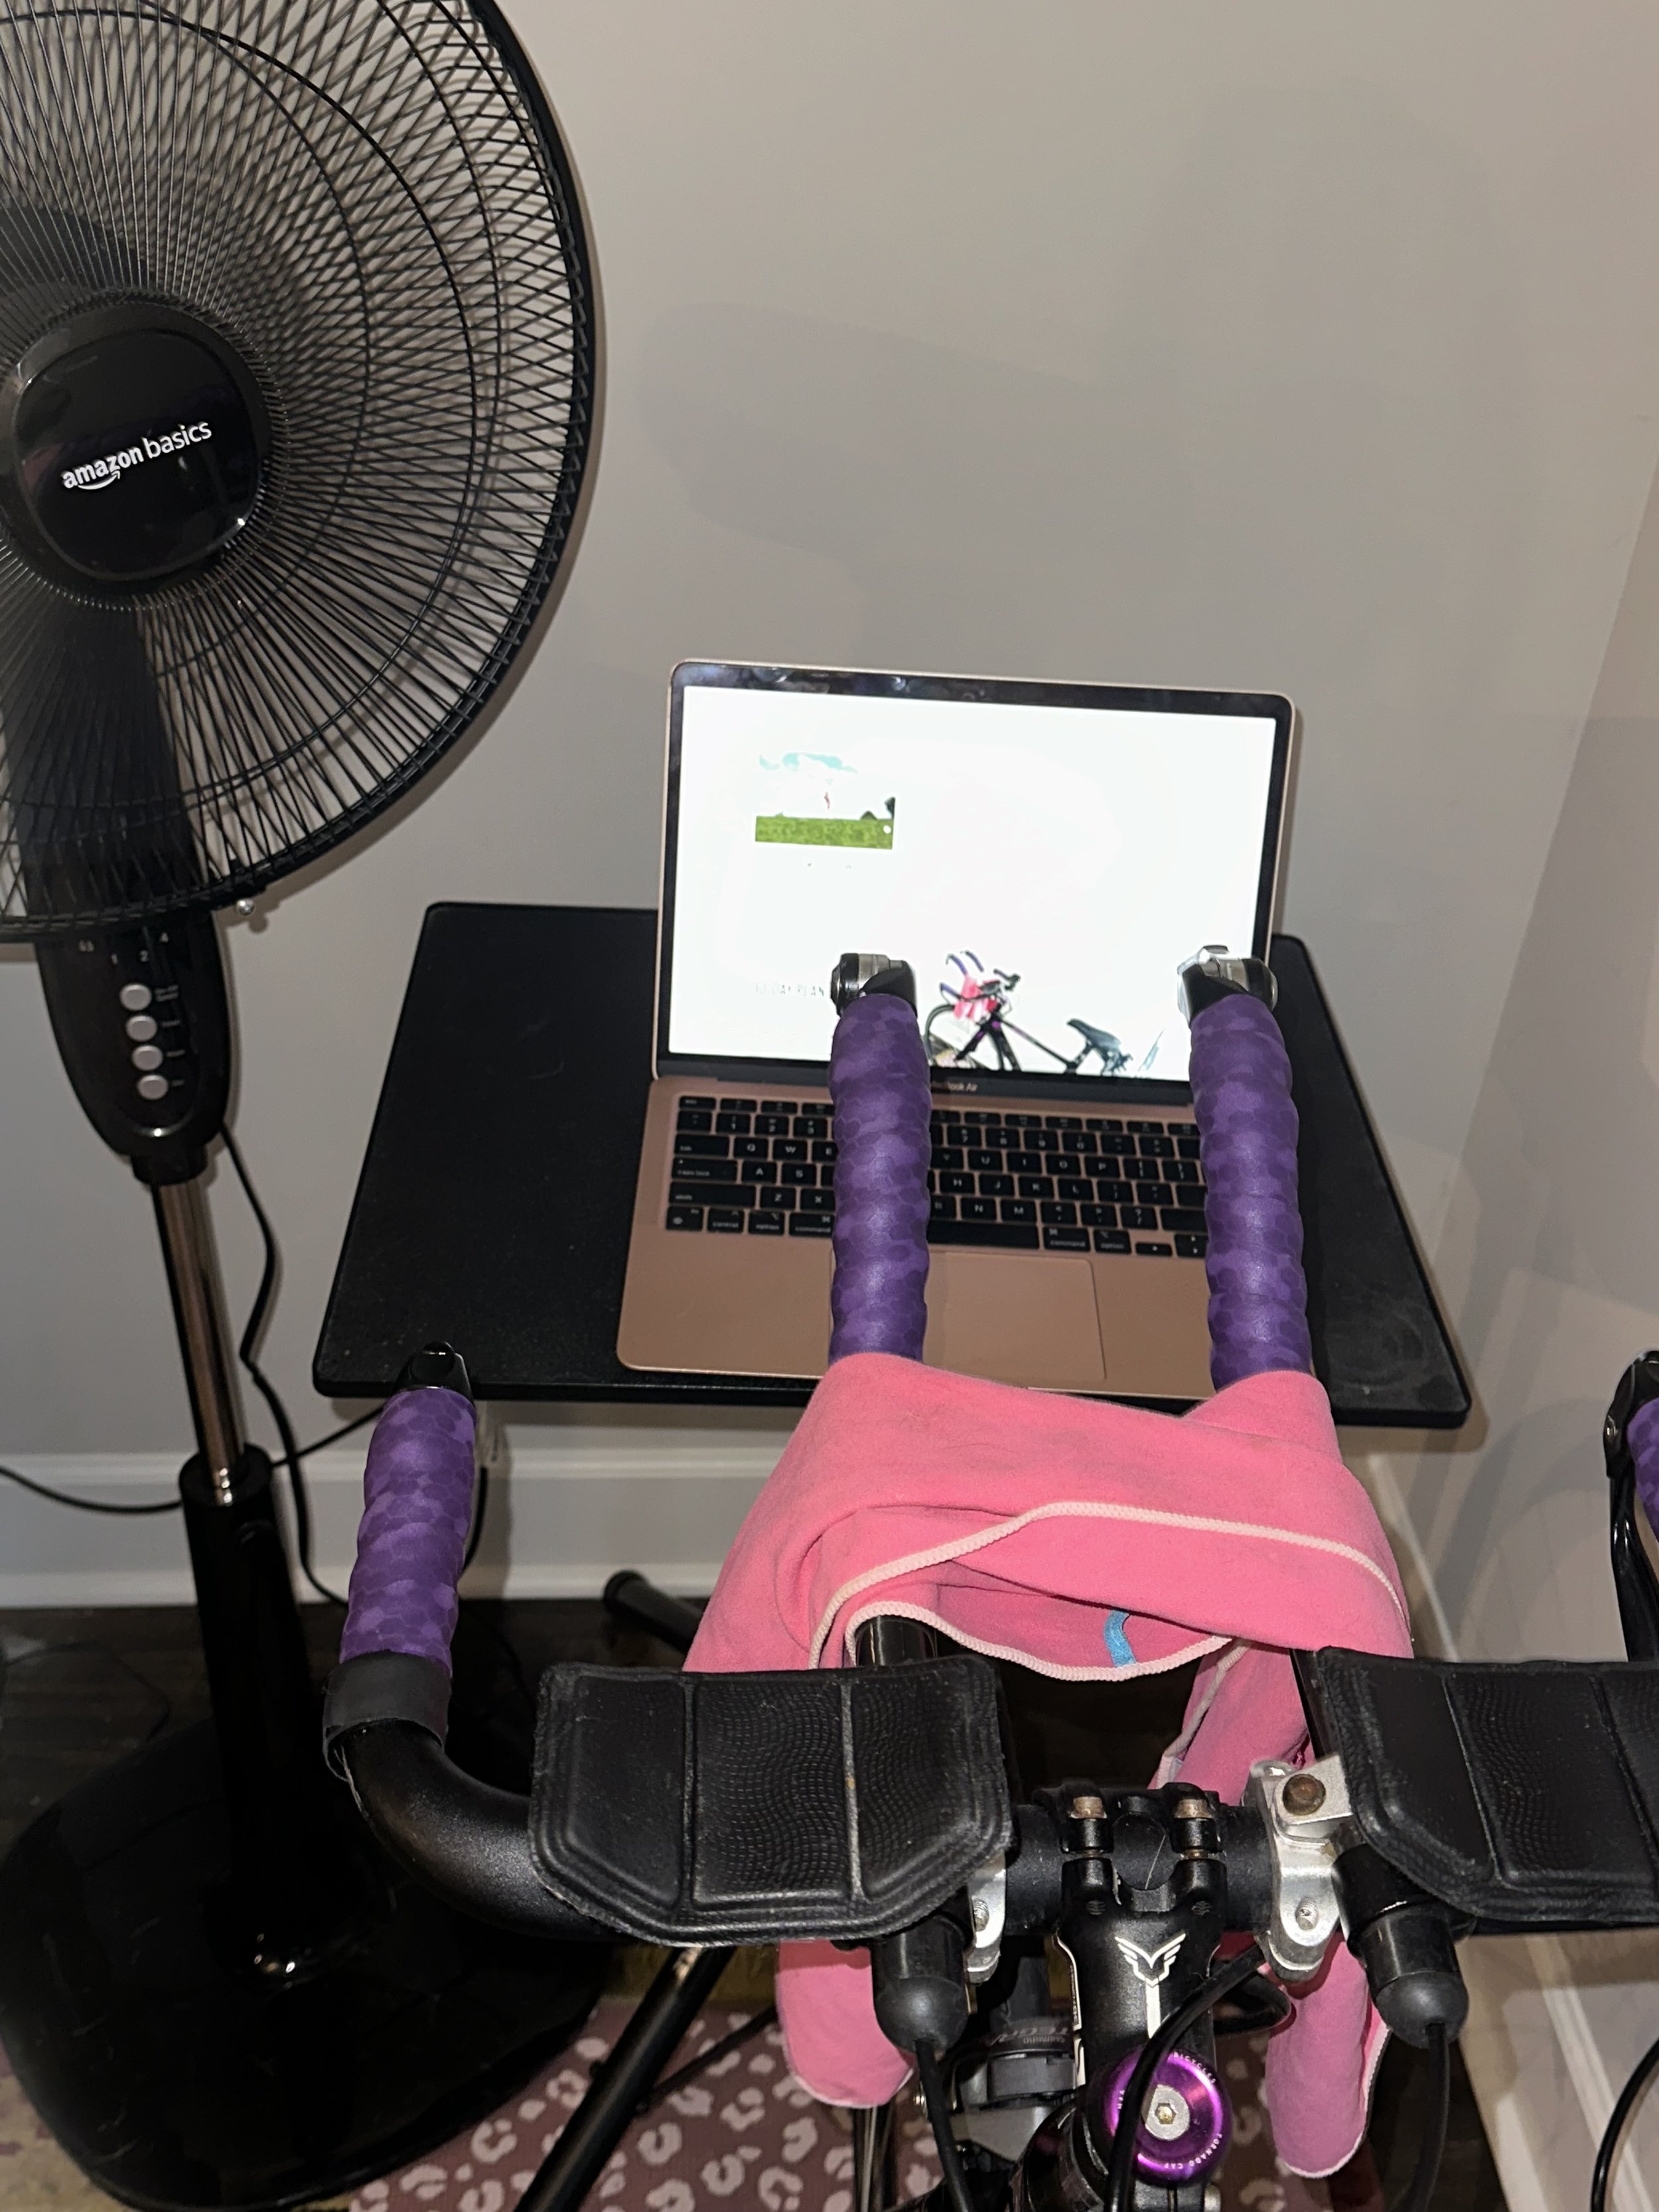
Current Zwift Setup

2020 Zwift Setup

The first thing I noticed was that there is no need to calibrate the bike.  I had to do a quick search to double check, but apparently it does calibrate continuously, which is much more convenient than essentially having to re-calibrate the Magnus every time because of tire pressure.  I also ran into a number of other issues when calibrating, so it is nice to not have to worry that a calibration is going to hold up a workout. 

Next, it is quiet.  I had a customer on the Kickr Move at work a couple weeks ago and was reminded of how much quieter the direct drive trainers are.  I usually split screen my computer and have YouTube or another streaming service on one side and Zwift on the other, and the thing I noticed was that I did not need to have the volume as high.  I am a picky sound, so I keep a low volume and adjust as soon as I move back to my couch where I am closer to my computer and do my work, so it was nice not to have as big of an adjustment when I moved. 

It was also so smooth.  I didn’t think I would notice that much of a difference, and I had not ridden a direct drive trainer in year, but the changes in the grade were much more realistic.  There were some sections with varying grade between 1 and 5%, and I felt like it was much more realistic.  On the Magnus, the changes felt more sudden, like it was just jumping from one to the next, where this felt a lot more like some of the hills I ride in my area. 

The one negative that isn’t really a negative is that I now need to adjust my derailleur.  Any time you change wheels, even if you are using the same size cassette, you may need some adjustments.  I have one of two problems.  First, I just need to adjust because of slight differences with the trainer.  This is what I am hoping for, and I can adjust easily.  The second is that I need a new chain.  The cassette I put on the trainer is the newer of the cassettes in my house, because it was on my carbon wheels, so the chain was worn more with the cassette on my old wheels, and usually you go through two chains per cassette, so it is possible I need a new chain. 

Key takeaways from this first ride. 

  1. Direct drive trainers are quieter 

  1. The ride is more realistic 

  1. You may need to adjust your derailleur even if you use the same cassette 

Setting up the Kickr Core

After many years, I finally gave in to buying a direct drive smart trainer.  For about six years now, I have been using a Saris (formerly Cycleops) Magnus (now M2) smart trainer.  The way the price has come down when I searched it to find out the current name is shocking.  The price on direct drive trainers on the other hand has not come down as much, but there is a wider range of prices, so the top end remains the same, while there are some lower price options. 

Picking my trainer 
This was more difficult than it seemed, because there are so many options.  I primarily looked at Wahoo and Tacx (Garmin), and I was set on going to a direct drive.  Wahoo had essentially two options, because the Kickr is out of stock, so the options were the Kickr Move or the Kickr Core, and with Tacx there were more options, but with the Kickr Core at $499, I quickly settled on that price point on the Tacx.  There was the Tacx Flux S, but the max grade simulation was only 10% compared to 16% on both the Core and the Flux 2.  I ended up basically getting the Core because I could also get a discount on one year of Zwift with it, which is worth it for me. 

Accessories 
You may be thinking the Kickr Climb, or the trainer mat, but the only things I purchased were a chain whip and lockring tool to install my cassette.  The Kickr does come with the option of a cassette, but my bike is 10 speed and they were out of 10 speed cassettes, so I will just use one of the ones that I already have at home, and I just needed the tools to be able to set it up at home.  I buy yoga mats at TJ Maxx, and I bought a computer stand from Aamzon years ago that I still use today. 

Delivery 
It was FedEx delivery, and they did leave it in front of my door.  I have a few steps and the occasional Amazon driver will not walk up them.  I have not dealt with the Kickr Core as much as the Kickr, but it does seem slightly lighter, which is nice for me, since I am the one that is moving it around my house to set it up. 

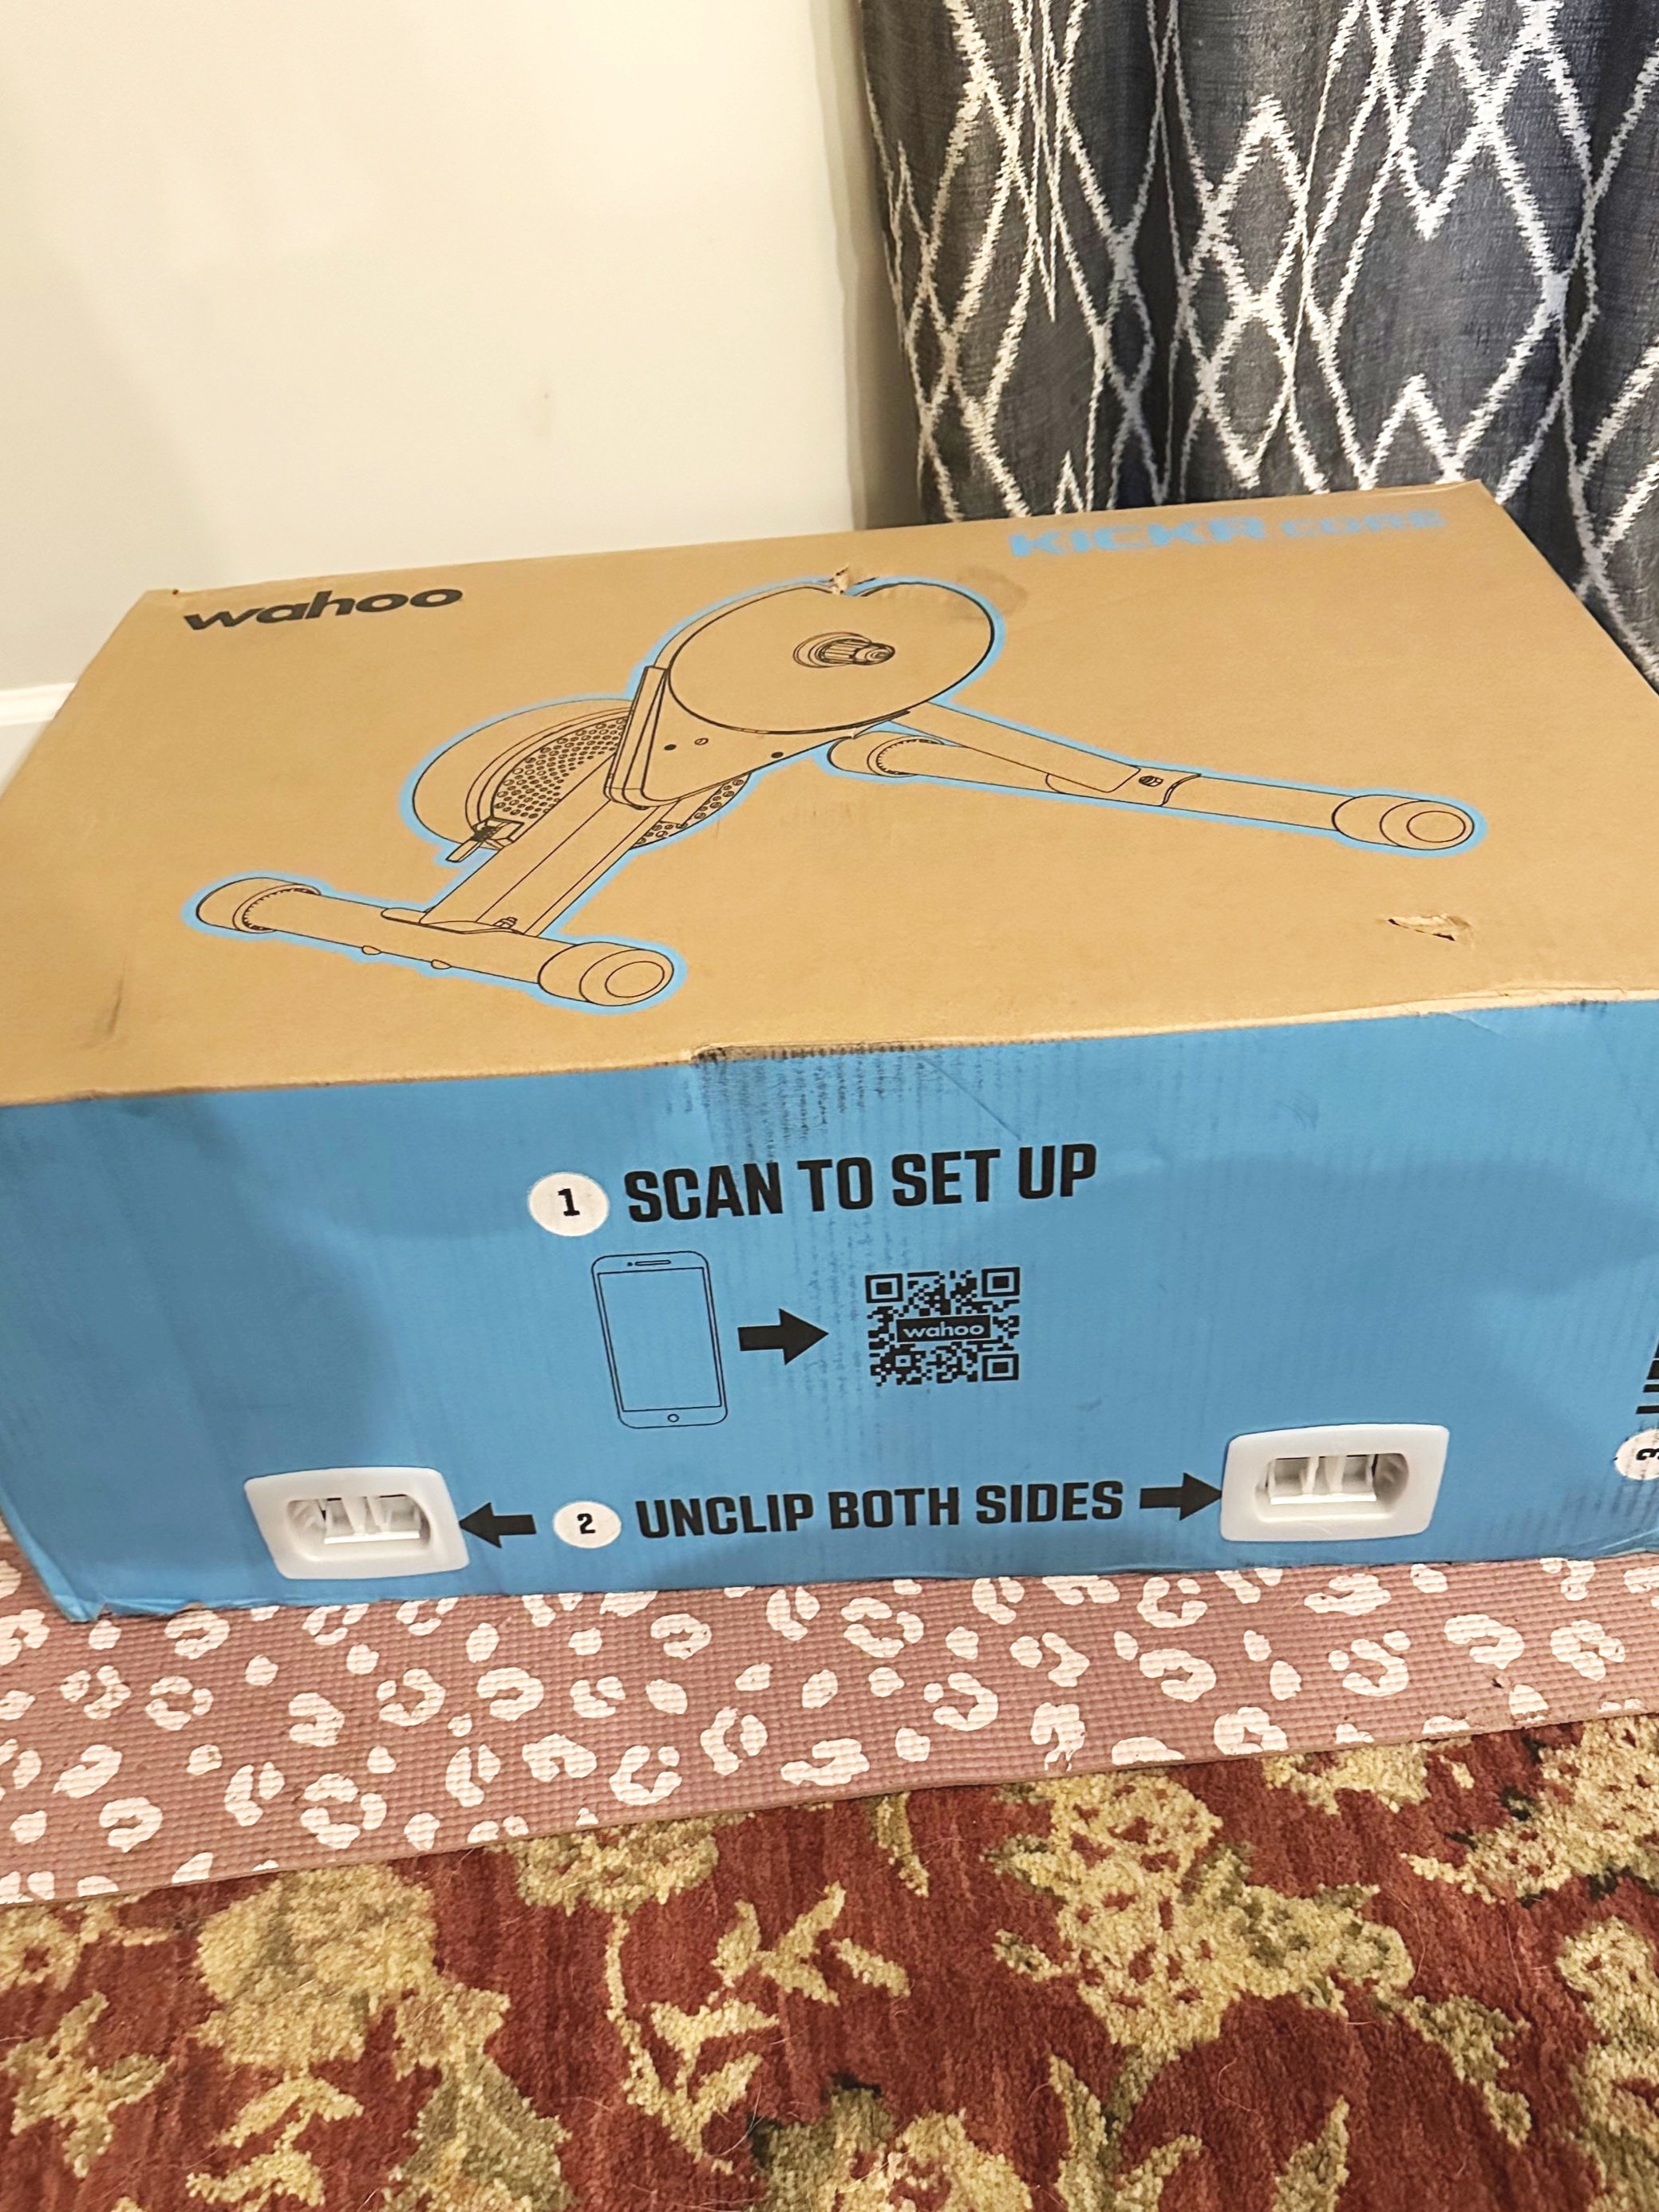
Unboxing 
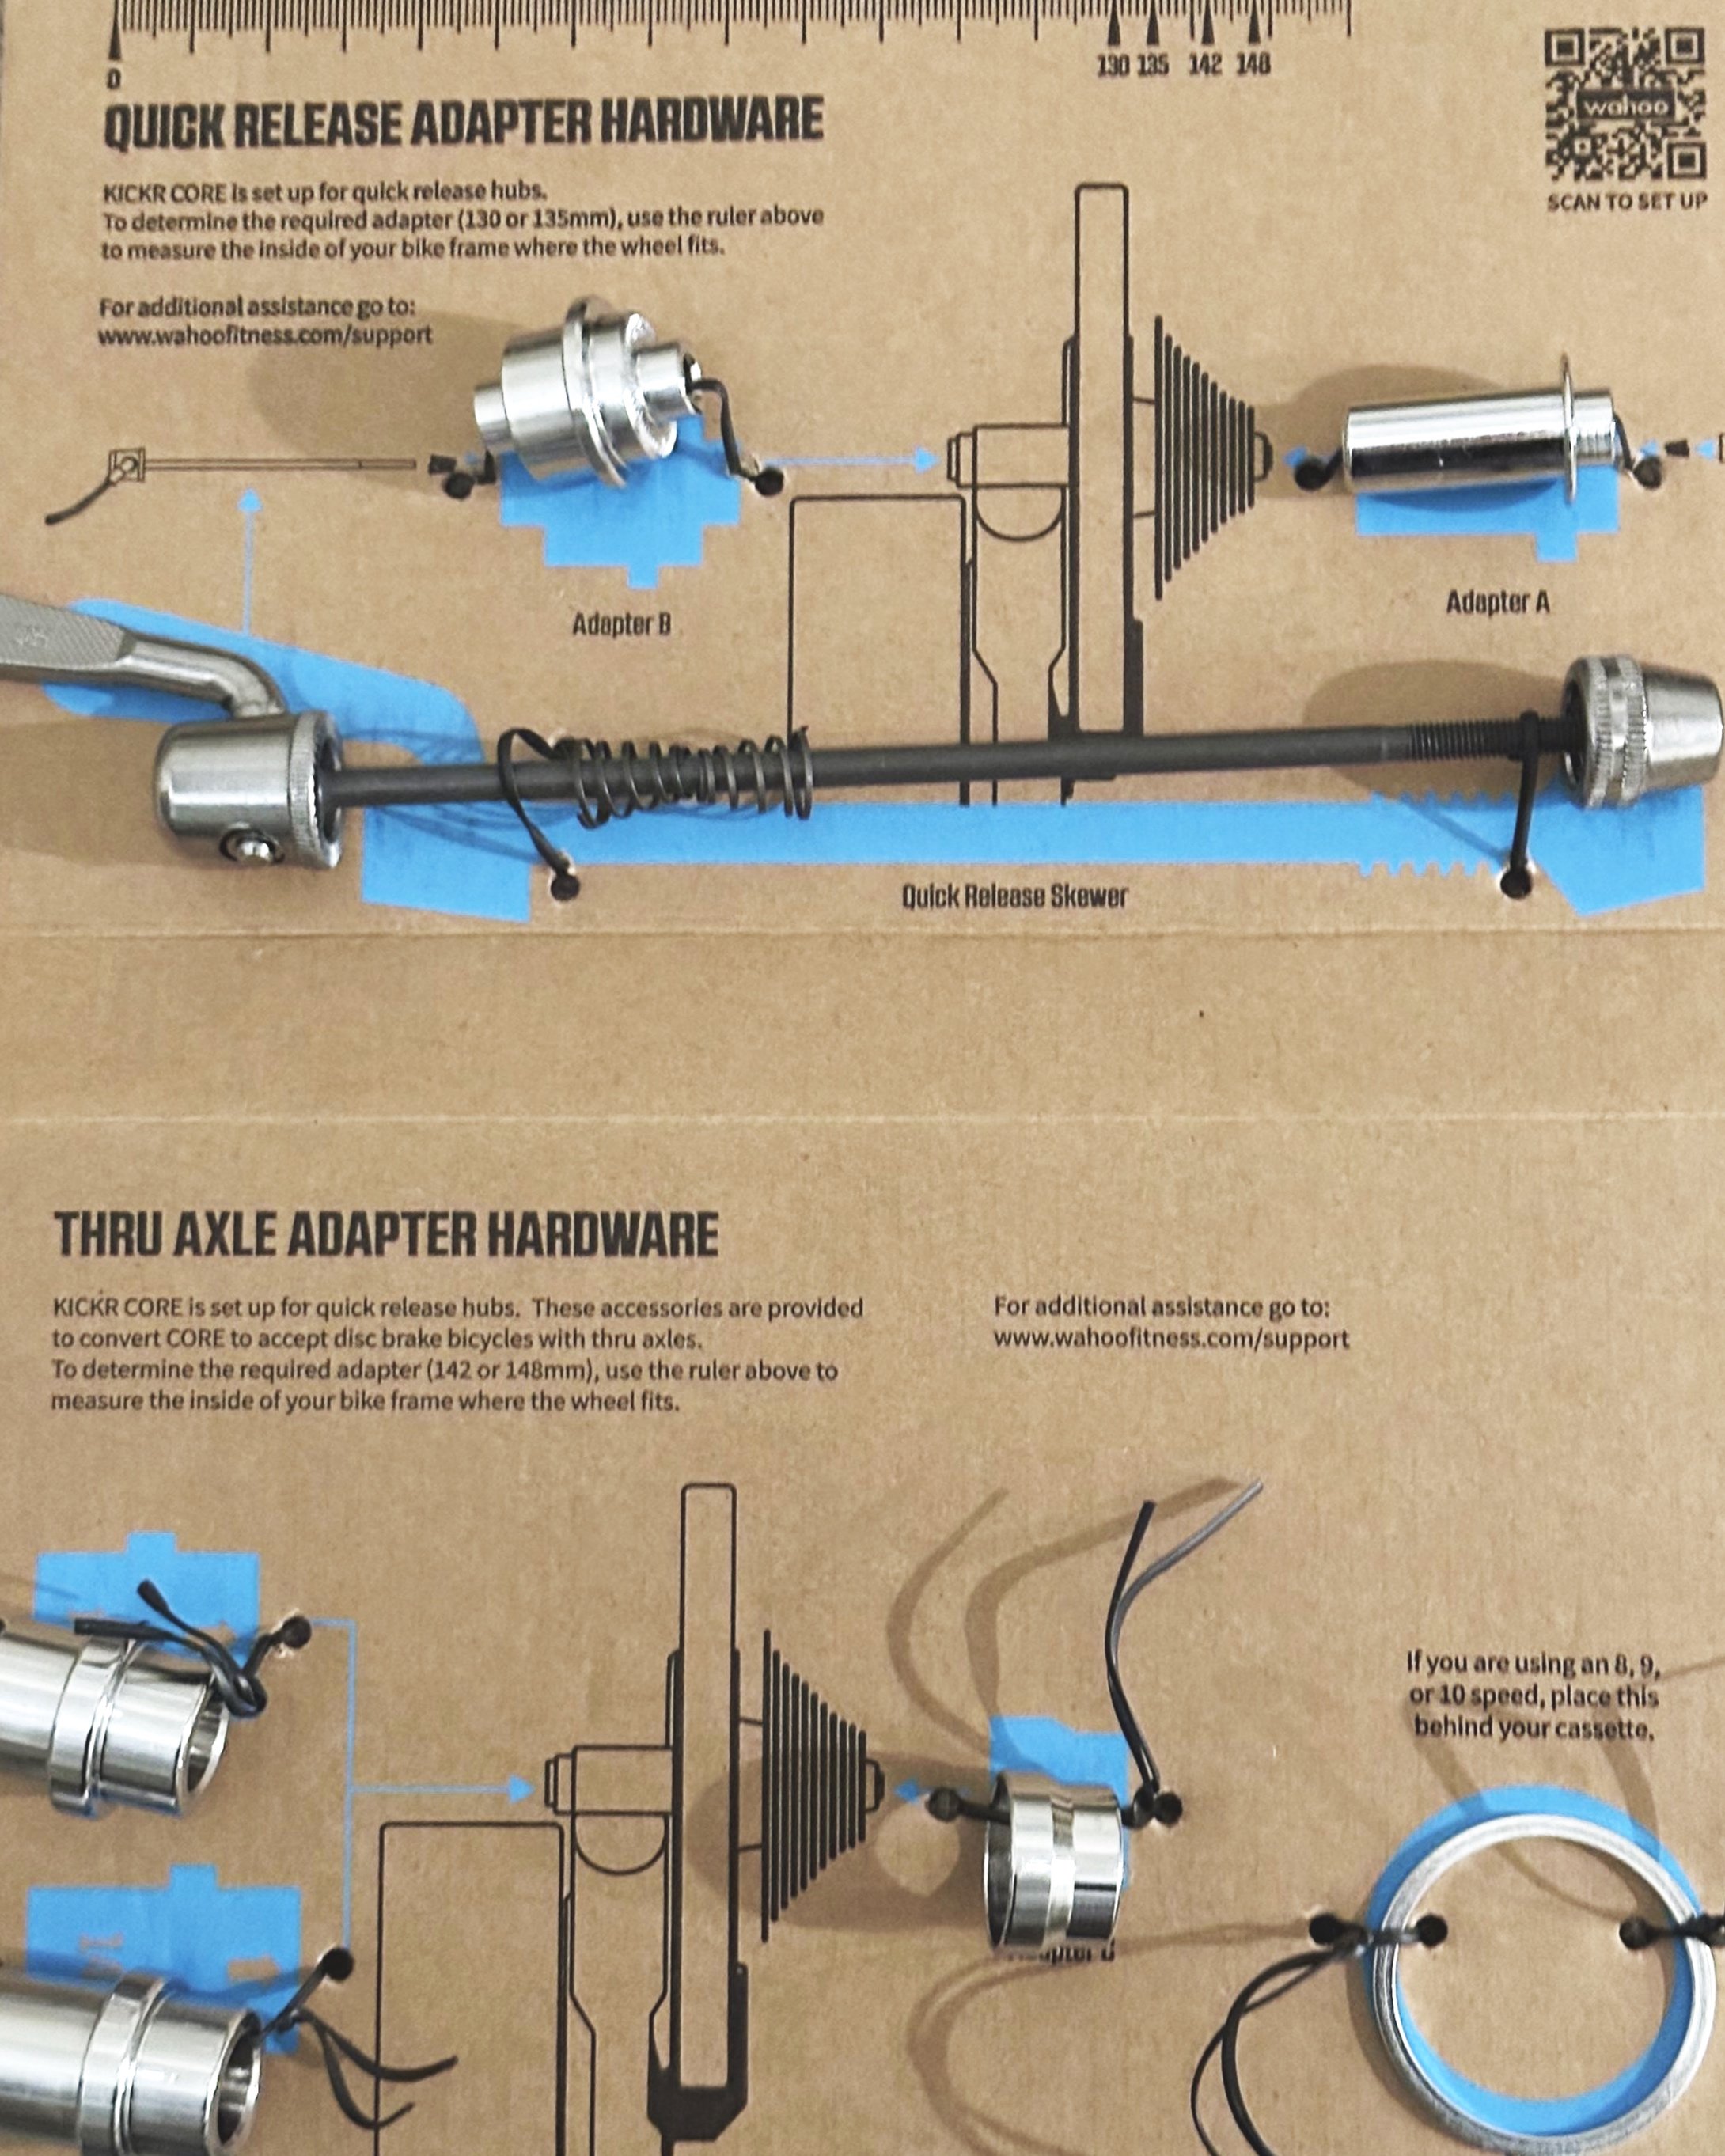
This was a little unpleasant just for getting the actual Kickr out of the box.  The lid came off nicely, and they position everything so you don’t miss it.  I especially like the way the additional adaptors are laid out when you open it.  The Kickr itself is very secure, so I just kind of dumped it over to get the box off, which is best done on carpet or a rug like I did, not nicer floors. 

Set-up 
This was surprisingly easy.  Trainers can be awkward to move around, but the two legs were easy to install, and it took me less time than finding my cassette in my car to install.  I was pleasantly surprised they did include the spacer needed for if your cassette is 8-10 speed, so now I have a spare, and my bike went on easily.  Sometimes when putting a wheel into a tri bike with horizontal dropouts, I struggle a little with getting the derailleur out of the way, but maybe this one was easy because I have the older style derailleur on my bike.  I lined up the chain with my smallest cog and was able to slide it right on. 

This was all about setup, which was much easier than I expected, and I will do an entirely separate post about actually riding it.  I have used a demo Kickr before, and just on a first look, this is much quieter than my old Magnus, which I am planning to possibly move to my parents’ house in Ohio for when I go up there. 

6 Things I am Doing to Get Out of a Training Rut

I’m a broken record.  I have some time, I train more and post more, and then I get busy and I don’t train or post anything. 

This is a cycle I am sure I am not the only person to end up in.  People have jobs, family, animals, second jobs, volunteer work, and numerous things that get in the way of training, and some things have to take priority.  In my life, taking care of my dogs, work, and law school need to take priority over everything else, including basic things like cleaning my house. 

This cycle then creates another cycle where I sit in my house thinking about all the things I want to do.  I want to train and race, but I also feel out of shape and it leaves me not even wanting to get started again.  It is annoying.  I am sitting writing this as an effort to get out of this rut. 

What can I do to get out of this rut?  I don’t have an answer, but looking at my history, I am very good at getting out of it for a couple months and then falling right back in.  I can usually start training if I get a race on my schedule, but I have clearly not been successful in completing the races. 

  1. Going back to a training plan - I looked at my training plan in Mottiv, and it looks doable for the next couple weeks, so I am going to start there.  I probably won’t get in all the strength workouts, but I can definitely get the run and bike workouts in. 

  1. Eating real food - I am cleaning out my fridge to get actual groceries again.  I worked three 70+ hour weeks in a row, and it definitely negatively impacted my eating, and I haven’t really gotten groceries sense. 

  1. Making sure I get vitamins - I am trying a couple vitamins, one is vitamin D, which I have been told by a doctor to take because my levels are usually low if I don’t, and I am taking B12 to hopefully help with energy levels and magnesium for sleep.  I don’t like to take too many things, but the vitamin D was because the doctor told me to, and the B12 is a guess that I don’t get enough because I don’t eat meat. 

  1. Decluttering - I am working on getting my house cleaner.  This may not seem like it correlates, but I am hoping that by getting it cleaner it will just make me feel better in my space. 

  1. Getting outside - I am going to try to ride a different bike outside each week, for at least the next few weeks until it gets cold.  I own a lot of bikes, and I think this might be a way to make things fun, and to make sure I am getting some variety. 

  1. Buying things - I bought a new trainer.  This seems silly (and it is), but sometimes it does help.  I have a pair of new running shoes I refuse to open until I actually start running and wear through my current pair, so at least I can have the new trainer.  I do not have a direct drive trainer, and I decided it would be worth it to upgrade and incentivize riding inside this winter. 

These are not big things, but they’re things I hope to find helpful.  I have been an all-or-nothing type person for a very long time, and I do try to place an emphasis on not falling back into that pattern.  I want to enjoy my life in all aspects, not just in training and racing. 

I Tried Mottiv - Is it better than buying a training plan?

I joined Mottiv to take a look at the free trial of the premium version and to test out the free version to see what features are in each and whether I would prefer this compared to hiring a coach, buying a training plan, or writing my own training.  I made a video about my experience talking about the workouts, my thoughts, and how they went when I did try a few, and this post is going to be more about what you get by choosing to use Mottiv. 

Mottiv is an endurance sport training application developed by Taren Geselle (Triathlon Taren now Taren’s Mottiv Method).  The most similar application I’ve found is TriDot, but I have not tried it, so I cannot give a head-to-head comparison of the two.  Mottiv offers two different tiers, a paid subscription, premium for $19.99/month or $179.99/year, and a free version.  The free version allows you to train for one race at a time and cannot be paired with other apps, such as TrainingPeaks, Strava, and Garmin Connect.  The paid version allows you to sync workouts across apps, view training stats, and will help you calculate your training zones.  I had access to the premium version for the two week free trial and then I was on the free version, so I could see both. 

At first glance, the app has a nice look and feel, and it is very interactive, so if you’re looking for something that offers a training plan and social media all in one, this is your app.  There is a section called “MOTTIVator Feed”, which resembles a hybrid of Facebook when I was in high school and we still had a wall and a feed of every single person we were friends with and Twitter before every other post was an ad. I didn’t spend too much time on this feature, since I am not looking for that, but I felt it was important to cover, because for people training alone the community piece can be important. 

I have bought training plans and worked with a coach before, and the place I would say Mottiv wins against the training plan is setting the start point for time/distance.  When looking for a training plan, you have to carefully read each one to see what the minimum distance you should be able to do is before starting, but with Mottiv it was nice that it started nice and low and didn’t ramp up too quickly.  On the other side of this though, I said I could train 9 hours a week, and I felt like it had too many workouts.  I would combine the strength and yoga workouts into two strength workouts, and cut down to three runs, since the time to get to where I run adds thirty minutes. I wish running any given day was as easy as just putting on shoes and going out the door, but it isn’t.  This is where I like a training plan, because they will give a sample week, so I can see the volume and number of workouts to see if it works for me. 

I explain my problems with the strength workouts themselves in my YouTube video on the subject here, so I want to focus more on the other workouts in this post. Aside from the length, I really enjoyed the workouts I chose to do. I experienced both shorter high intensity intervals in the run and bike workouts, and I also had the opportunity to do some steady state workouts while running and cycling. I thought the mix between high and low intensity was ideal for training, but I would like to see some longer weekday bike workouts during the baseline phase instead of only thirty to thirty-five minutes. 

Overall, I think the workouts are well written, but I would like to see more variety in the baseline workouts as far as the number of different workouts available. If you’re looking for a basic plan with guided yoga and strength workouts, this is a great option for you, but I would rank it just below the workouts in the 80/20 Triathlon maintenance plan I have also used, just because that plan offers more progression. 

What I Did in the Most Bike Friendly Country in the World

I spent a week and a half in Copenhagen, and as I told most people, my plan was to ride bikes around and see things, and I accomplished the task, and I also learned a little Danish history as well, and I walked a lot of steps every day.  This is my summary of the trip, the highlights I think everyone should do, and the awkward moments where things got lost in translation. 

First, the most important thing, the bikes.  I did not actually get on a bike until the day after I got there, and I rented a Donkey Bike (bike share) named Art to bike to the zoo.  I also biked from there to a castle and lunch that day and then back to my hostel.  The thing that I do not like about the bike share bikes is the internally geared hub.  While it is great for city riding, there is a small hill going to the zoo where I would have liked another gear, since these only have three.  They also tend to have some shifting issues.  Art worked well, but the other two I rented, one for two days to get around named Schatz and one to get back from a bar crawl needed adjustment. 

I also rented a gravel bike planning to ride three days, but the third day I could not bring myself to ride in the rain again, and I have mixed thoughts here.  When I arrived at the shop, the bike I had rented was not there, apparently it was stolen, which is how I ended up on the gravel bike that they built while I waited.  The problem I had was they tried to give me a bike two sizes too big before offering me that, and I felt like they assumed I knew nothing about bikes.  They also gave me the wrong pedals (Shimano instead of Look) and I had to pay extra for a flat kit and helmet, and there were no water bottle cages.  I attribute this to the fact that most people in Copenhagen are looking for city bikes, but I wanted to ride 20-30 miles and the Donkey Bike would not be good for it. 

Moving on from the bikes, I did choose not to do any structured training during this trip, unless I felt like it.  I chose this, because I felt like it would take away from getting to see as much as possible if I was trying to also fit in specific workouts.  I brought my clothes to train if I wanted to, but I was also walking over ten thousand steps every day, some days closer to twenty, so I was active, just not in the way I am used to when I am at home.  I tried to walk or bike anywhere within two miles until I rented the gravel bike and then I started taking the train more, because my legs were tired. 

There was so much to see that walking and biking everywhere made sense.  I was able to walk from my hostel or bike to the zoo, multiple museums, restaurants, and castles, and even with ten days (and some rain) there are still more things I could go do and see.  I also walked to what was voted the second most disappointing attraction in Europe (the little mermaid, which is indeed little), and I saw what I think should be voted the least disappointing attraction (pictured above), which is a statue protesting a parking deck being built below the area where it stands. 

Overall, this trip was perfect for me. I was walking between fifteen and twenty thousand steps a day, I learned about Danish history, ate some Danish food (and some non-Danish food), and I had time to relax without thoughts of work, training, and my life back home. I did miss my animals, and I am happy to be back home with them now, but the trip was definitely worth the cost and the time. 

Tri 101: Do I Really Need That?

I talked a little bit about what a triathlon is last week, so I though I would continue my “Tri 101” series by talking about what you need. There is a ton of gear out there, but for your first few races you need to have certain things covered 100%.

What to wear?  This is a question I had before my first race too, and finally I think I can give some pretty good choices.

  • Swimsuit (I suggest a sports bra underneath) + Shorts (for the bike and run) + optional shirt (for bike and run) – This was what I wore for my first race without the shirt.

  • One Piece Trisuit – There are a lot of benefits to wearing a one piece trisuit.  The first being no need to change and they are made to fit skin tight for swimming.

  • Two Piece Trisuit – The main advantage of the two-piece over the one piece is that you can take off the bottoms if you have to use the port-a-potty in a longer race.   Some also come with built in sports bras.

Do I need a fancy bike with bike shoes?  No.  I raced on a rental bike wearing running shoes for my first race.  I do suggest a road bike, not a mountain bike, especially if you are doing anything over a sprint.  Road bikes are much faster, and you can train on whatever you have then rent one for the day of the race.  Honestly, make sure you are committed to the sport before investing in the bike and the shoes.  This way you can also do it gradually.  I went from rental bike, to road bike, to road bike with shoes and nice pedals, to my carbon tri bike, and then I also finally after over a year upgraded to a nicer helmet than my original helmet from Academy.  If you are sticking to it, you have plenty of time for upgrades.

What gear to I absolutely need?  There are some things required, and some things I think you should absolutely never race without.

  • Something to wear – As I talked about above.

  • A bike – See the above on that one.

  • Running shoes + socks – Depending on your level of racing and your gear, you may be wearing these for the bike and run, which is perfectly ok.

  • Something to hold your race number – Races will usually supply pins, which you probably don’t want to put through your tri suit, or deal with in transition, so I suggest investing in a race belt early on.  Saves time and your gear.

  • Swim cap – For open water this will be provided by the race, but for a pool swim you need to have your own.

  • Goggles – I highly suggest spending over $20 on a nice pair, like my Speedo Vanquisher 2.0’s that I’ve used forever.

  • Water bottle – This goes on your bike, and you will drink from it.  Trust me, no matter how you feel, drink something.  I use electrolytes in one, water in another.

Do I need a wetsuit?  Yes or no.  This is a personal choice.  If you are not comfortable in open water and it is cold enough for one, you may be more comfortable with the extra buoyancy and warmth.  I don’t like wearing one very much, but I do own one, which I got because, although I am a strong swimmer, I am not comfortable in open water very much, so I wore it for my first Olympic.  If you wear a wetsuit put Bodlyglide on your neck for chafing and you will thank me.

What optional gear is there?  When you think you have enough gear, there is always something else.

  • GPS Watch

  • Heart rate monitor

  • Power Meter

  • Cadence and speed sensors

  • Aero helmet

  • Race wheels

  • Shoes + pedals

  • Compression socks

There is so much I could never list it all.

Tri 101: You Signed up for What?

This is going to be the first post in an updated version of a series I ran on my old blog called “Tri 101”. The goal is to create a set of simplified resources to assist individuals who have signed up for or are considering signing up for their first triathlon. I am going to utilize the information I previously shared as well as things I have learned in more recent years to provide a free resource for people who are just starting out.

You signed up for a triathlon.  A lot of people will ask you why you are paying to go do up to 17 hours of cardio depending on your race distance, and everyone has their own reason.  A lot of triathletes come from a single or double sport background, or sometimes even no athletic background, so there is a wide variety of people getting involved in this quickly growing sport. This means you are not the only one who is probably looking for guidance on getting started.

Now what do you do?  The first thing to do is figure out your plan.  Are you going to be like me and not really train much because you think you’re just that good?  Go for it.  Are you going to follow a training plan or find some form of consistent training?  Go for it.  Just make sure you know whether/how much you are going to train, and plan out all of the gear you are going to need.

When deciding what your plan is, know what you are getting yourself into.  Below is a breakdown of the distances.  If you aren’t much of a swimmer you are going to want to be in the pool for a little bit before attempting an Olympic.  It is all about being realistic about where you are and what you are attempting to do. If you don’t have a ton of time to train and are really strong in a single discipline, maybe spend more time on the other two and do just enough to maintain your strength in the third, or if you are new to all three, prioritize where you think you can make the most gains in the time you have available.

You also need to keep in mind that there is more to doing a triathlon than just doing three sports.  Maybe you can accomplish the three distances on their own, but you have to consider what it is going to be like to do them all together.  This is especially important when it comes to running off the bike, where your legs will feel like jell-o the first time you try it.  No matter what distance you’re racing, at least a couple brick workouts leading up to it is going to help a lot with that, because while transitions may be easier to learn, getting a feel for going from swimming to standing immediately or from biking to running does require some training to adjust.

My next post in this series is going to be all about the gear you need as you prepare for your first race.

How I Take Photos of my Bikes

Anyone who has watched the GCN Show can immediately point out the errors in my photos below, and I never thought I would say this, but I am a bicycle photo snob in addition to just being a bike snob. I even started an entire instagram page dedicated to photos of bikes (bicyclesnearroads). Let’s walk through what I do to try to get the best photo possible of my bikes.

Let’s start with the most basic thing, lighting. When I start a ride looking for somewhere to take a photo of my bike, I am looking for the angle of the sun. There are a lot of fences and walls on my typical route, so I usually figure out which side of the road is going to have the sun facing toward it and use that side to take the photo. I have also found midday is the best time (if it isn’t too hot) because the higher angle of the sun helps to minimize odd shadows. The best sunlight I have probably ever gotten was with my old Madone in the picture on the left.

Once I find the spot and the sunlight, I like to take off my water bottles, because they do typically clash with the look of my bikes, especially if they’re a different color. I always have water with me, but you will almost never see it on my bikes in the photo, except some from before I considered myself a professional bicycle photographer.

Then, I get into the things you will hear if you’re watching the GCN Show, which include lining up the crank so it is parallel to the ground and making sure the wheels are straight. Another one I have picked up is lining up my wheel logos. My newer try bike has Enve wheels with white logos, and I learned with one of my earlier photos of it that it is difficult to get them right. I also found that the logos on those wheels look best when lined up horizontally.

Finally, I like to keep it fun. I have multiple bikes, so I like to get photos of the really nice road bike, and also of the single speed bike I used to get to campus in college (and the cool tie-dye water bottle).