How I Take Photos of my Bikes

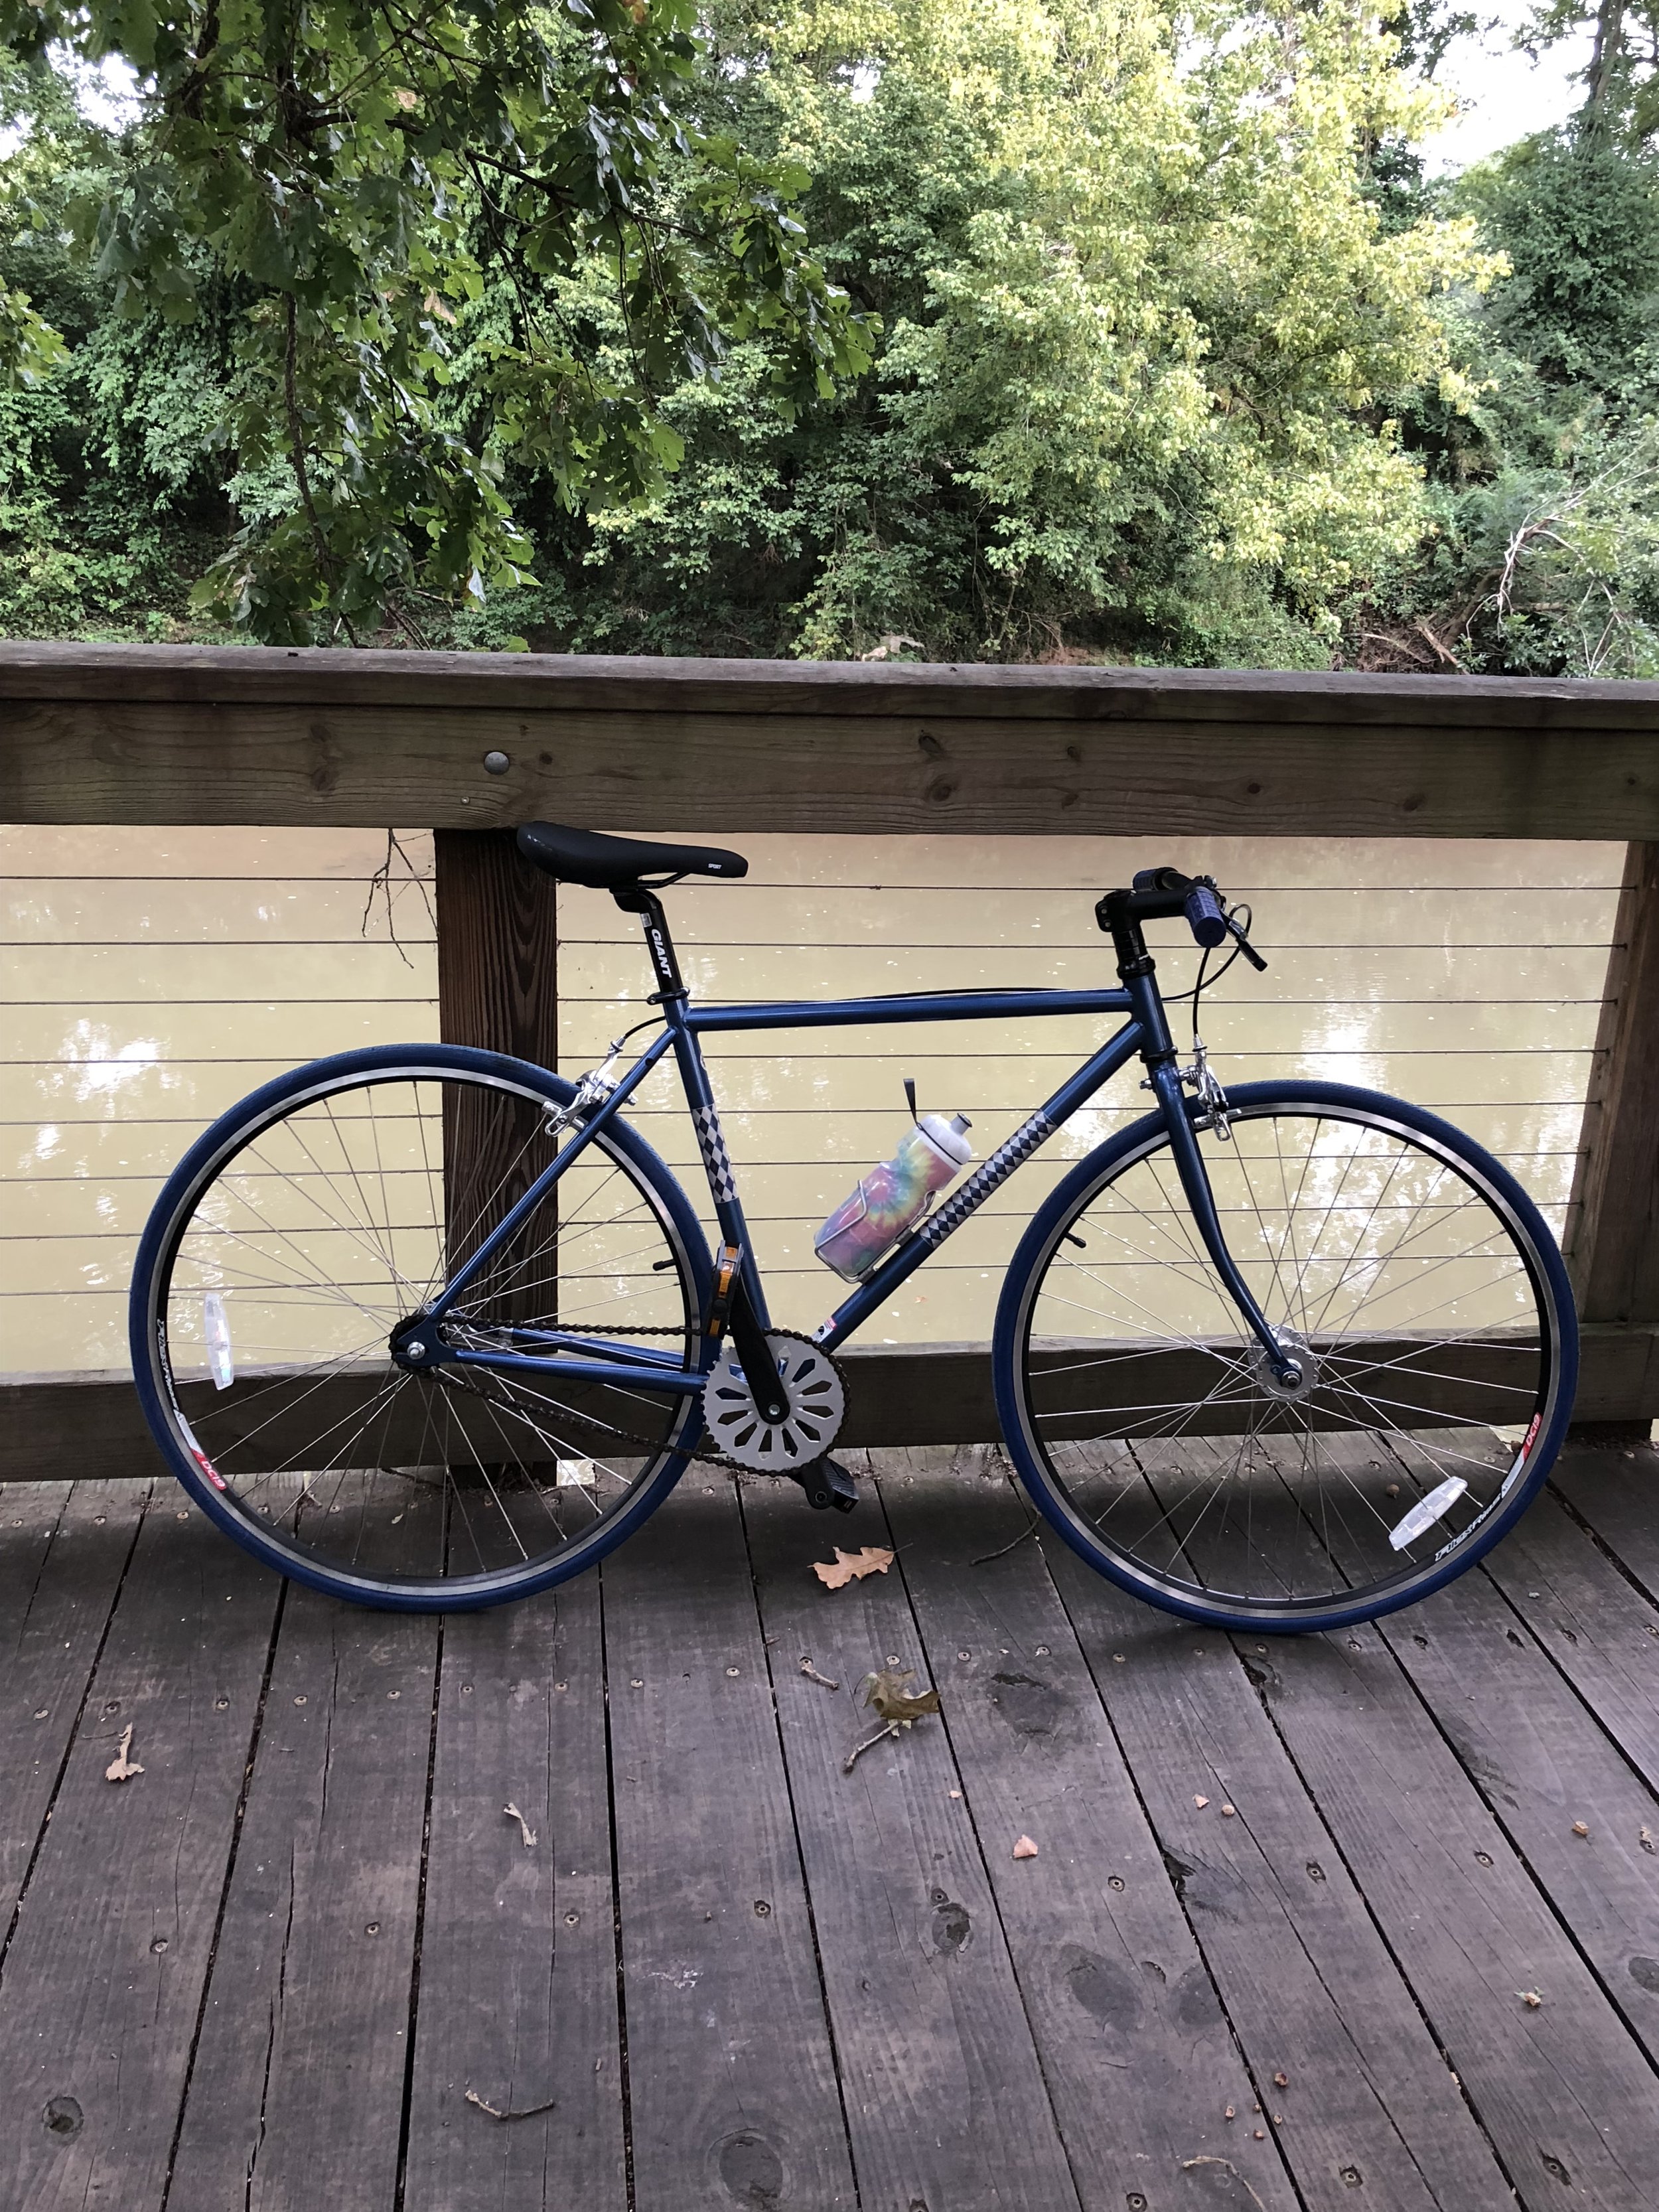
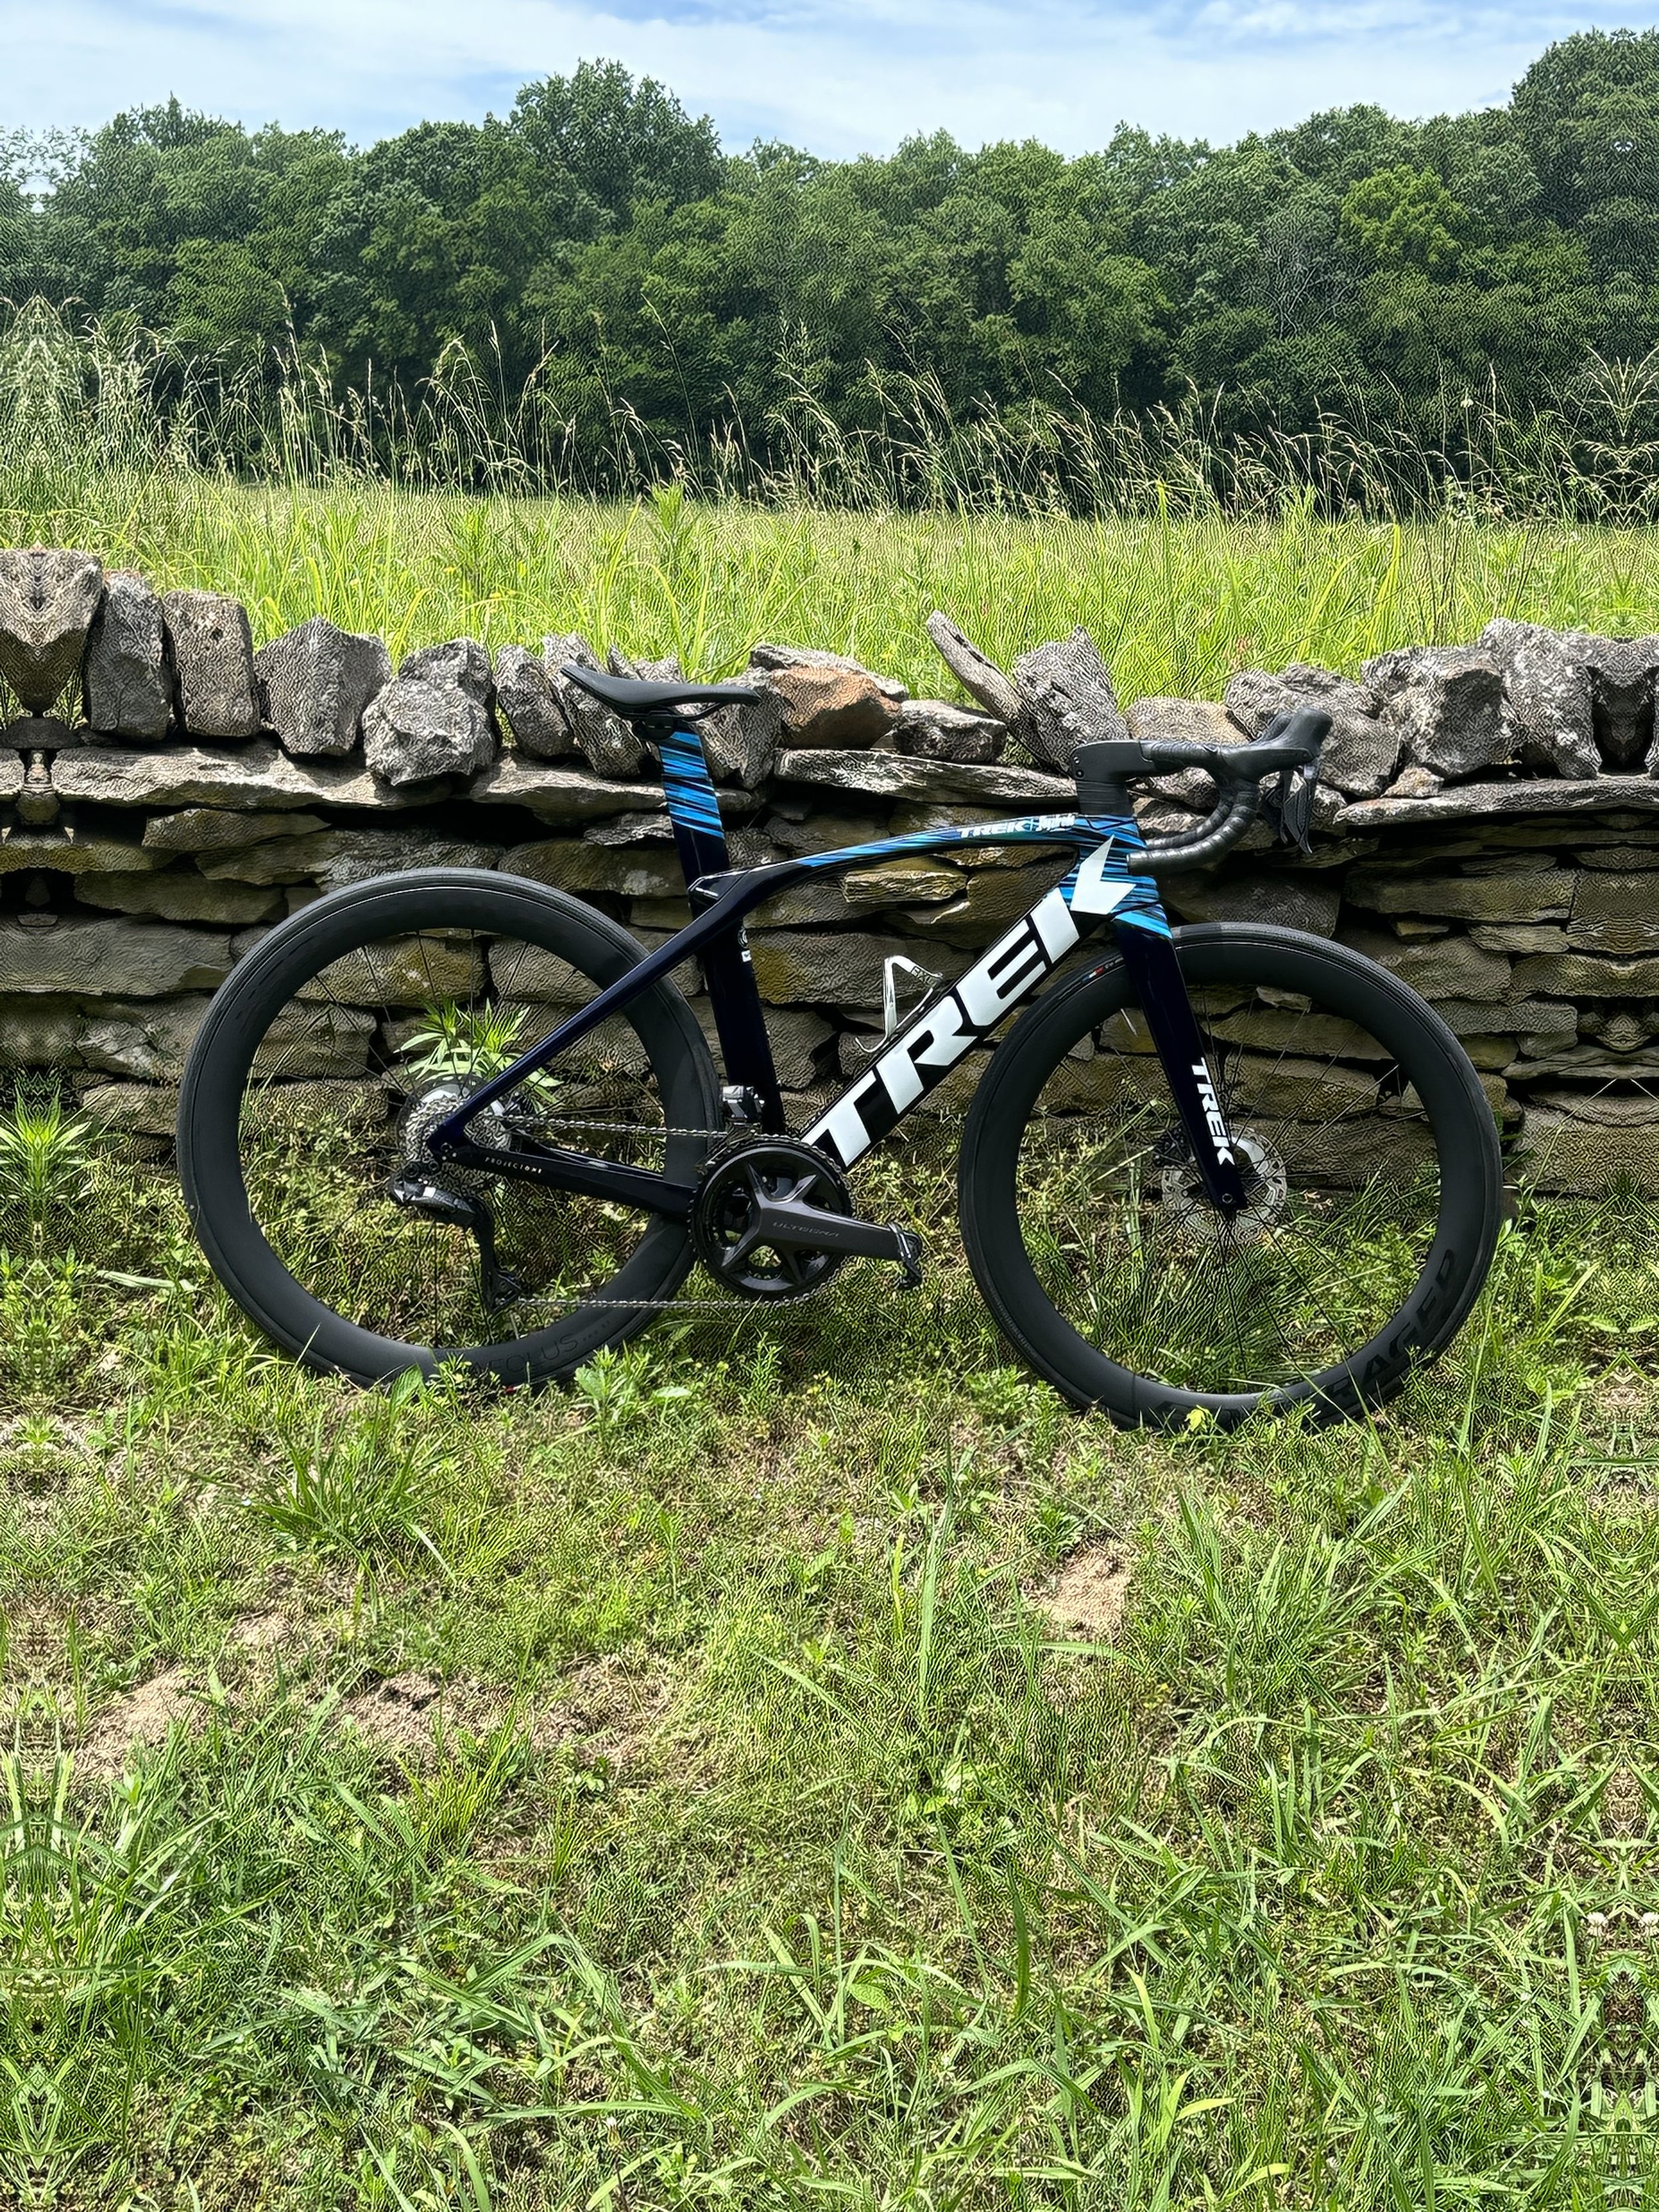
Anyone who has watched the GCN Show can immediately point out the errors in my photos below, and I never thought I would say this, but I am a bicycle photo snob in addition to just being a bike snob. I even started an entire instagram page dedicated to photos of bikes (bicyclesnearroads). Let’s walk through what I do to try to get the best photo possible of my bikes.

Let’s start with the most basic thing, lighting. When I start a ride looking for somewhere to take a photo of my bike, I am looking for the angle of the sun. There are a lot of fences and walls on my typical route, so I usually figure out which side of the road is going to have the sun facing toward it and use that side to take the photo. I have also found midday is the best time (if it isn’t too hot) because the higher angle of the sun helps to minimize odd shadows. The best sunlight I have probably ever gotten was with my old Madone in the picture on the left.

Once I find the spot and the sunlight, I like to take off my water bottles, because they do typically clash with the look of my bikes, especially if they’re a different color. I always have water with me, but you will almost never see it on my bikes in the photo, except some from before I considered myself a professional bicycle photographer.

Then, I get into the things you will hear if you’re watching the GCN Show, which include lining up the crank so it is parallel to the ground and making sure the wheels are straight. Another one I have picked up is lining up my wheel logos. My newer try bike has Enve wheels with white logos, and I learned with one of my earlier photos of it that it is difficult to get them right. I also found that the logos on those wheels look best when lined up horizontally.

Finally, I like to keep it fun. I have multiple bikes, so I like to get photos of the really nice road bike, and also of the single speed bike I used to get to campus in college (and the cool tie-dye water bottle).

Basic Group Ride Etiquette

Recently, I have had the opportunity to begin to go on group rides a little more, although my pace is unfortunately slow at the moment. I feel like I am finally when in a group getting the hang of drafting and riding with people, where previously I rode a lot on my own and people made me nervous. When you ride alone, you don’t have to worry about drafting or someone behind you, but in a group there are a lot of other potential issues.

IMAGE.JPG
  1. Know your pace. Right now, I am with our C group, which is 14 mph and up, but when I am in better shape, I am a B group rider, which averages 17 mph normally. Typically you will be faster in a group than on your own, but pick the group that is your speed and stick with it. Normally you will all progress similarly, so you still have a good group to ride with. If you are on a group ride that is a little faster than your usual pace, but you can hang on, sit on the back and let other riders know you are staying on the back.

  2. No aero bars. You can ride your Tri bike with some groups, but no getting in aero bars when in a group on a road or Tri bike. This is for the safety of you and the other riders. I don’t care how good your bike handling is. If have to brake for a sudden red light and you’re behind me in your aero bars, there is a good chance of us both crashing.

  3. Know your pace lines. Most groups employ either a single or a double pace line and will have their set ways of pulling off to the back. In a single pace line, the rider in front will typically signal they are moving to the left and going to fall to the back. In a double pace line the riders will sometimes split to the left and right, or they will both move left, so I suggest starting in back or asking if you are unsure of how the group tends to ride. My biggest pet peeve is in a double pace line when the person next to me will ride between two people instead of on their wheel.

  4. Know your signals. The two most basic are your turn signals for left and right. Beyond that, we also want to point to either side and announce things like glass, potholes, and gravel. I also suggest knowing signals for slowing/stopping, and announcing this as well.

  5. Announce cars. If you hear a car and you are in the back, call out that there is a car back, so everyone is aware and if you need to move to a double pace line you can.

  6. Maintain a steady pace when pulling. This can be a fast pace, slow pace, or a moderate pace depending on the ride, but the goal is to maintain the pace the ride is intended to be. If you are about to pull, look on your computer to see your current pace and try to maintain that when on the front to avoid going too hard, which is easy to do.

Cycling Accessory Essentials

Depending on where you ride and what type of bike you have, you will have certain accessories you need. 

Things Everyone Needs

Helmet - You only have one brain, so you should protect it.  All helmets sold in the Us should meet certain standards of safety, but I always recommend one with MIPS in it, which protects your brain in a rotational impact by absorbing extra energy.

Lights - You need to be seen.  At a minimum you need a tail light that has multiple flashing and steady modes.  I recommend rechargeable lights, because they can be brighter than battery powered.

Road ID - Even if you ride with other people all the time, they don’t know your allergies, emergency contact, or any other relevant conditions in case of an emergency.

Flat Kit - You don’t want to be that friend who always needs a tube or a tool.  A well prepared rider will always have a flat kit with a tube, tire levers, CO2, and a multi tool.

Floor Pump - I have had to change flats and then sell someone a pump, because they didn’t know to air up their tires every time they rode.  Proper tire pressure is extremely important to your ride and not getting flats.

Things Roadies Need

Trek Madone 9 Series

Shorts or Bibs - I will admit I didn’t give in to this for a while, and I wish I had earlier.  Proper riding shorts makes a huge impact in your ride quality, especially on a road bike.

Jerseys with pockets - I say pockets, because they’re extremely convenient.  I always put my phone in a plastic bag and put it in my jersey pocket in case of an emergency.

Bottle Cages - I put this under road, because on a mountain bike people often use a hydration pack.  You need to be drinking a lot so you do not end of dehydrated when riding.

Short Finger Gloves - Not for everyone, but a lot of people like short finger padded gloves to relieve extra pressure.

Things Commuters Need

IMG_3314.JPG

Fenders - If you are commuting you may run into rough weather more than others.  Fenders can help to keep excess water off you and your clothes.

Rack - A rack can be useful for adding a bag or panniers to carry work and keep it off your back.

Bags - As mentioned above, bags carry things so you don’t have to.  They also have waterproof bags to protect electronics and chargers.

Soap - Anything you need to be clean and smell good to your coworkers.

Things MTB Riders Need

IMAGE.JPG

Hydration Pack - As mentioned with roadies, hydration packs can be useful for mountain bike riders, where some full suspension bikes don’t even have bottle cage mounts.  This is so you have adequate hydration and control.

Knee/Elbow Pads - Protection.  Not necessary for everyone, but useful the more aggressive you ride.

Shorts - Just like the road bike, shorts can be important on the mountain bike.  Some people prefer baggy shorts for extra protection with a liner short for cushion and to prevent chafing.

Jerseys - On a mountain bike, your jersey and whether it has pockets or possibly longer sleeves is your choice.  Longer sleeves and a looser fit can be protection and comfort with the movement of mountain biking. 

Long Finger Gloves - Again the theme of protection, because long finger gloves can protect in falls and from passing branches and other items.